Version v0.41 of Metabase is no longer supported. Check out the docs for the current stable version, Metabase v0.63.
This guide covers the basics for running your Metabase instance in Microsoft Azure using Docker.
On the Azure management console, click on the Resource Groups icon at the top of the page (or just search for Resource Groups). If you already have a resource group, you can go straight to Step 2.
On the resource group page, click on the + Add button in the top bar to create a new resource group. On the Create a resource group page, select your valid Azure Subscription, enter the name of your resource group, and select a region.
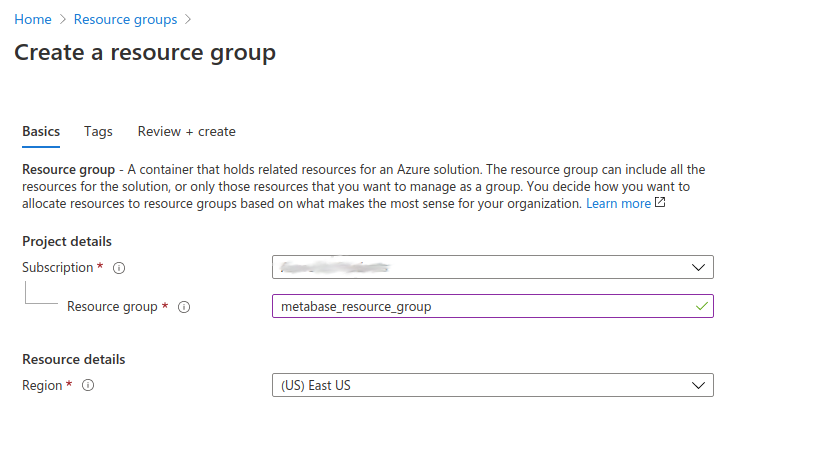
Click Next until you see the Create button, then click it.
When selecting the region for your Metabase, you should consider the location of your users and your data warehouse, as well as the infrastructure costs and privacy laws that might restrict cross-border data transfers.
At the center of the page, click on the Create resources button. Search for VNET:
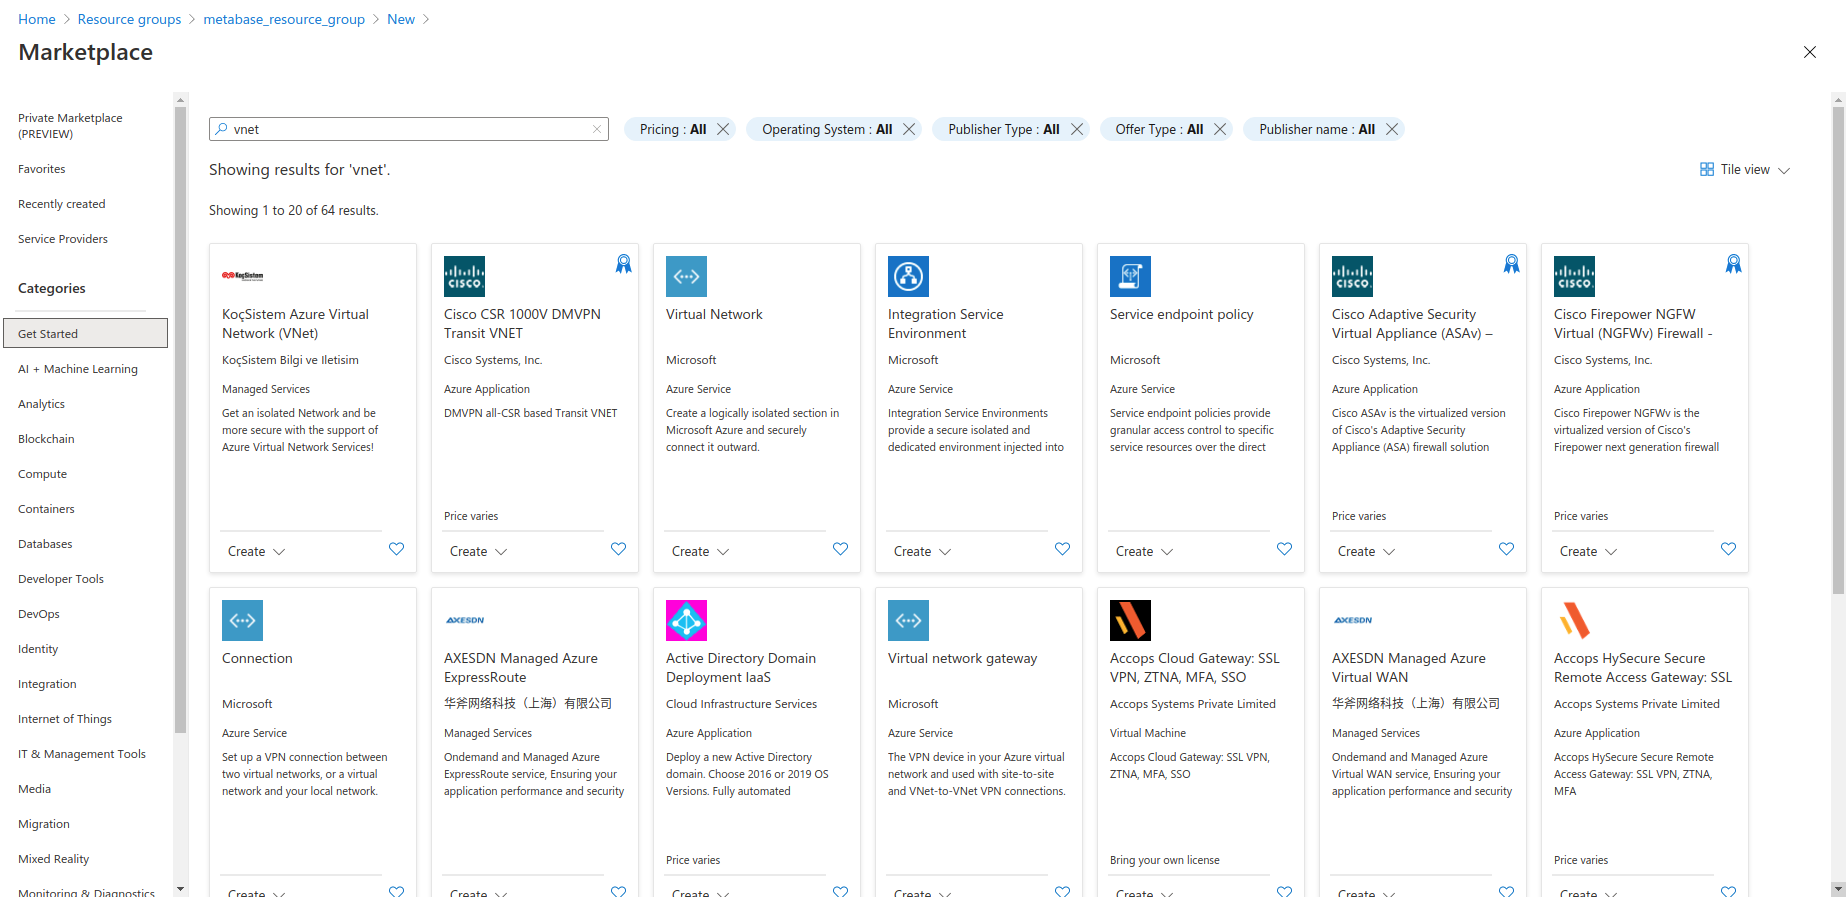
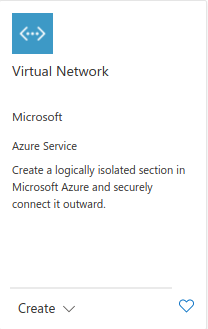
Select the VNET product from Microsoft, and click Create:
Enter a name for the virtual network and select the same region you used for the resource group. Click on Next: IP Addresses button at the bottom.
Here we’ll create a secure network composed of a public subnet (a network that is exposed to the internet), and a private network that will contain your application database.
In the IPv4 address, you should have a default value of 10.0.0.0/16 (otherwise add that network space to the box). Next, add two subnets:
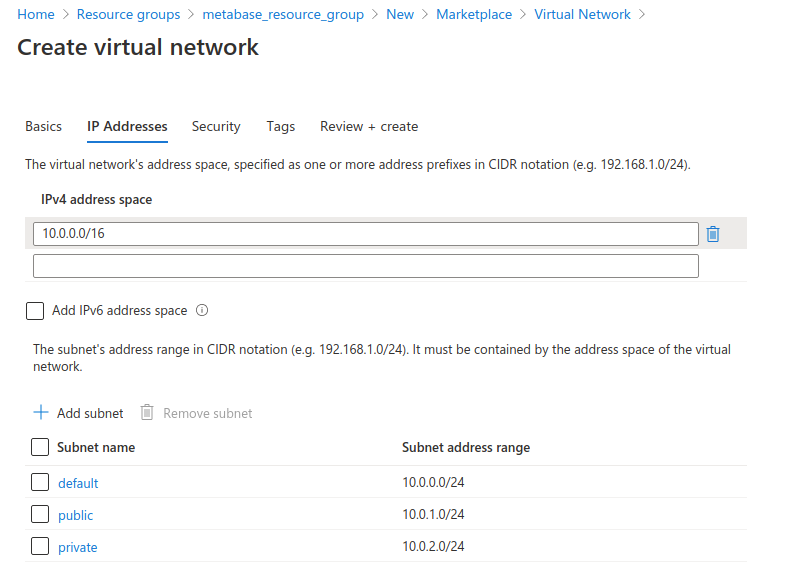
Click Next until you get to the Review and create page, then click on the Create button at the bottom to create your network.
From the Azure Management console homepage, create a new resource. This time search for Azure Database for PostgreSQL. You can also find this database in the Marketplace menu under Databases.
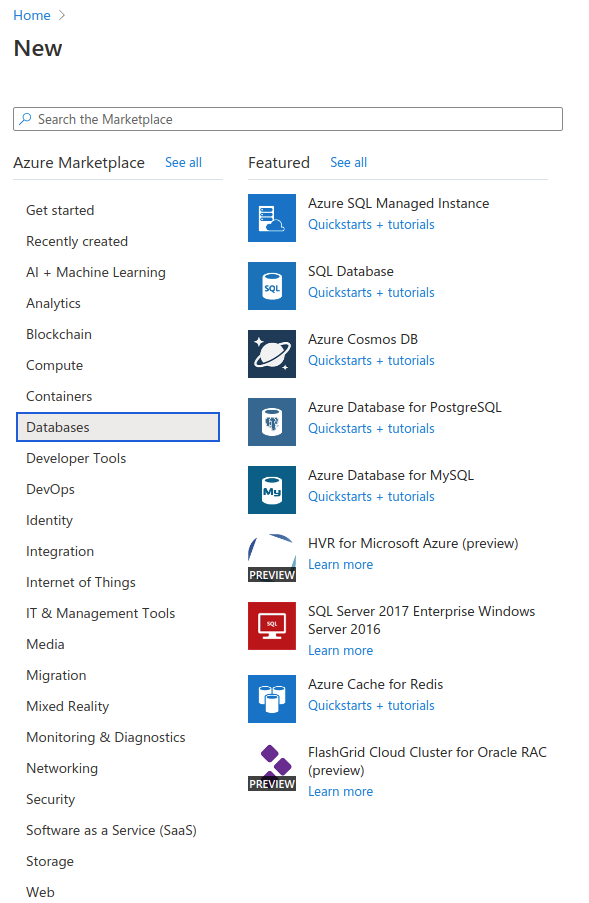
In the next page you will have to select the way you will use the service. Choose Single server for now, which is a good starting point, but take into account that this will create just one instance of PostgreSQL that will be your single point of failure.
On the next screen, select or enter the following:
None.General Purpose tier, as it’s the only tier that provides a Private Link.Then choose an admin username and password of your choice.
Click Next until you get to the final page, then click Create. It’ll take some time for Azure to create the database. Once the creation is complete, click on the Go to resource button.
On the properties page for the Azure for PostgreSQL database, you can manage parameters for your database. You’ll create the Private Endpoint to the database, so all traffic from the web application is routed internally through Azure’s network.
On the left menu, click on Private endpoint connection which is situated under Security
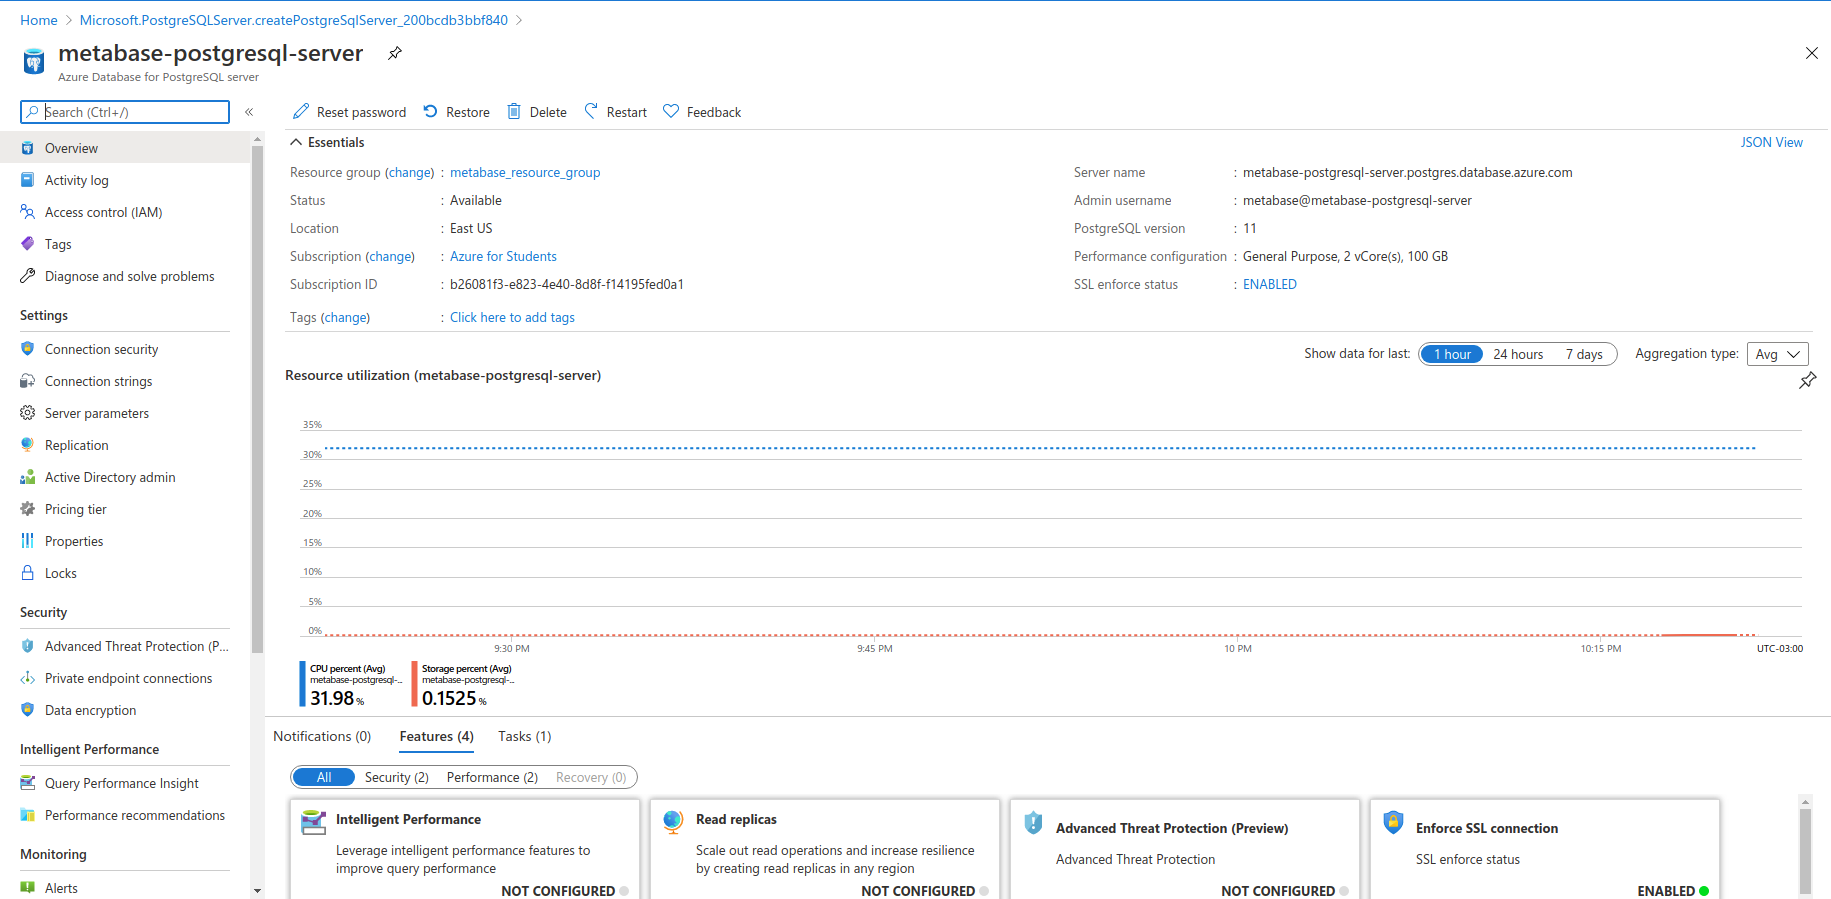
Now click on the button of the top bar with a plus sign that says Private endpoint. In the page that opens:
metabase_link). Select the region where the database lives, click Next.Microsoft.DBforPostgreSQL/servers which will enable you to select in the dropdown below the server created in the previous step, and leave Target sub-resource with the default value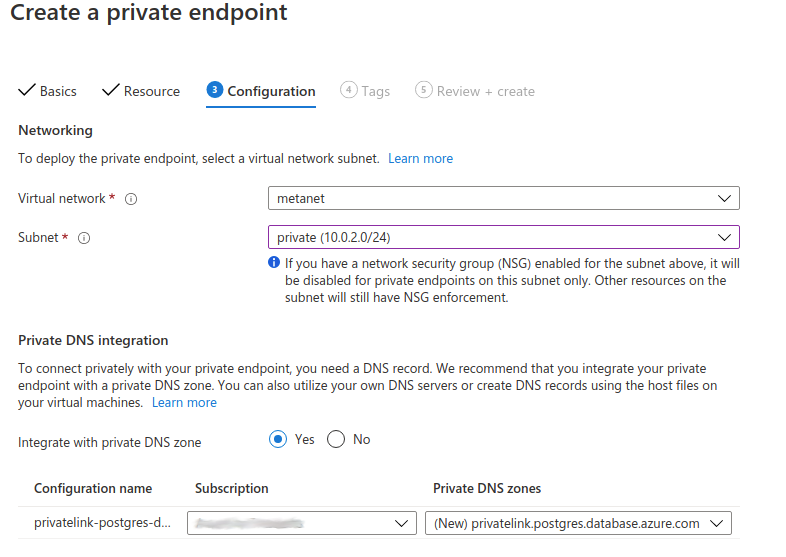
Now go to the last step and click Create. Once the endpoint is created, you will need do two things before proceeding:
At last, the step where all the magic comes together: go to your resource group and add a new resource, or search for Web App in the Marketplace (blue globe icon).
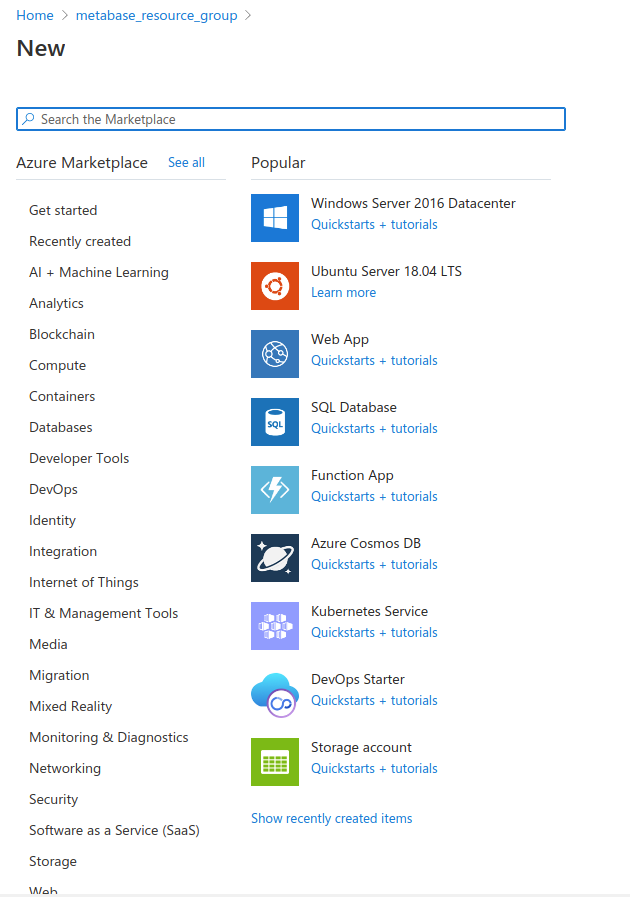
Now set up the following values on the page (resource group should be the same as in the first step):
Now go to the next step where you will select:
Click Next until you get to the last section, then click Create, and wait while your application initializes.
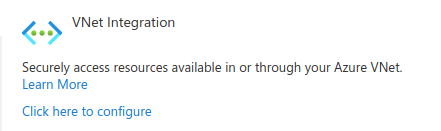
Now go to the application configuration page and click on Settings -> Networking on the left side of the page. On the next page, click on Click here to configure under VNET integration.
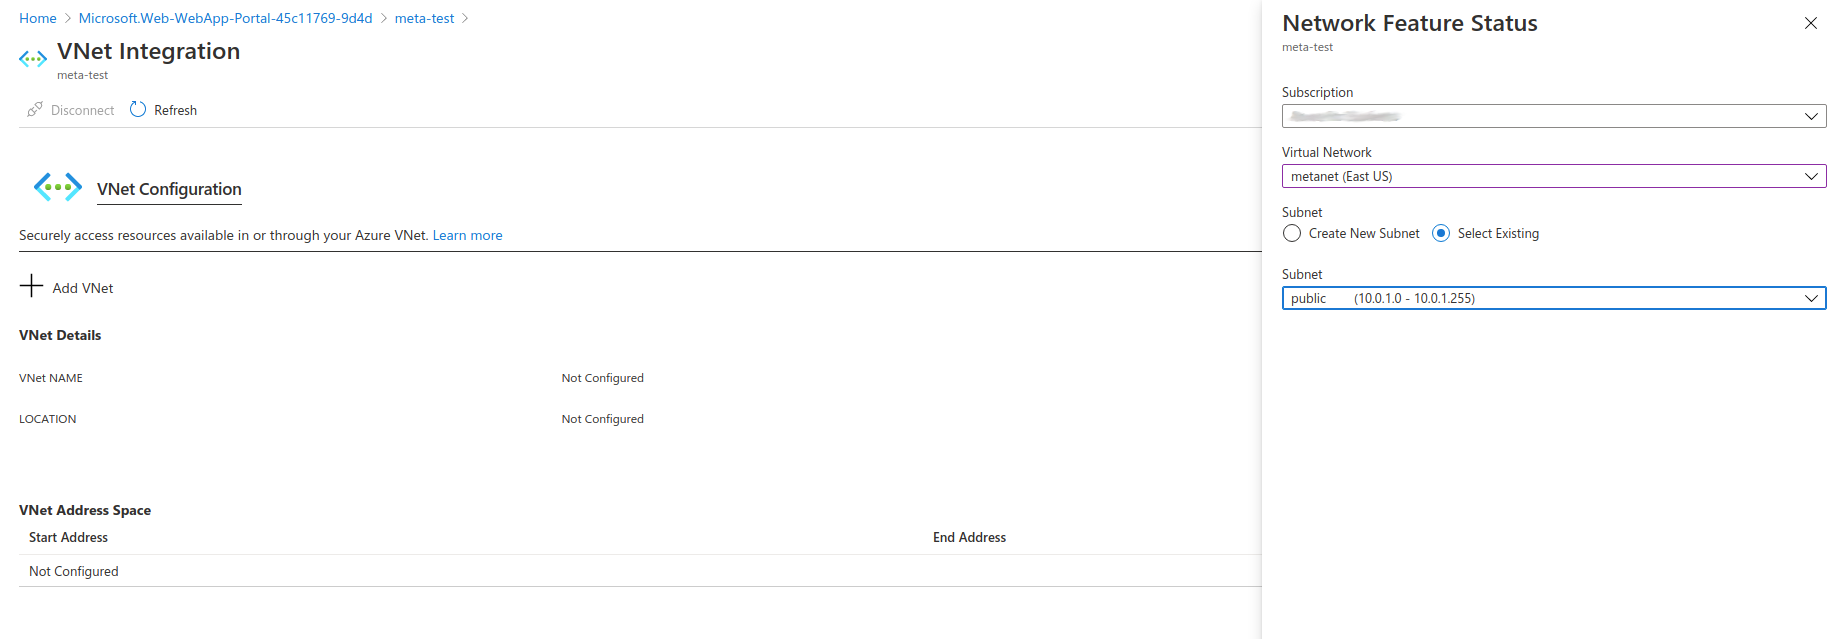
Now click on the huge plus sign next to Add VNET and select the VNET that you created, and the public subnet. Click OK.
Return to the application configuration page and click on Settings -> Configuration on the left side of the page. You should see a few Application Settings already configured.
You’ll need to add the Environment Variables for connecting Metabase to its PostgreSQL Application Database. Make sure that you use the full MB_DB_CONNECTION_URI.
Also, take into account that the username in Azure PostgreSQL is user@name_of_your_database_engine so in this case the entire connection uri would be as follows:
postgresql://databasePrivateIPAddress:port/postgres?user=user@name_of_your_database_engine&password=configuredpassword&ssl=true&sslmode=required
For example, if your values are:
then your connection string would be:
postgresql://10.0.2.4:5432/postgres?user=metabase@metabase-app-database&password=Password1!&ssl=true&sslmode=require
Click Save and the instance will restart.
Once it finishes, you should be able to visit your Metabase at the URL shown in the the “Overview” tab in the web app (under the URL section).
Enabling health checking in Metabase is a good practice. Go to your web app -> Monitoring -> Health Check -> Enable health check, and include in the path /api/health.
Go to the Metabase web app you created and click in Settings -> Container Settings.
In the textbox of your Metabase Docker container, change the version of the container to the new version. See available versions in Dockerhub.
Important: always ensure you have a backup of your Database before doing a version upgrade, especially when upgrading between major versions. Also remember that Metabase doesn’t officially support downgrading versions.
Visit your web app in Azure, and navigate to Monitoring -> Log stream.
You should be able to see the logs as well inside Metabase by going to Settings -> Admin -> Troubleshooting -> Logs.
In your Azure web app, visit Settings -> Custom domains to use a custom domain with your own certificates.
Azure provides an easy way to increase the server’s capacity by doing a Scale-up. Simply choose a pricing tier with more RAM and CPU count and restart the instance. This approach is easier than scaling out and you should choose this option first before scaling out.
For a highly-available Metabase deployment, you can tell your web app to scale-out (more servers serving the application in parallel). Simply go to Scale-out and use the slider to ask for more instances, or use a custom autoscaling policy (like using more servers during your work hours and fewer during off hours).
In case you’re embedding Metabase, you might need to enable CORS in Settings -> CORS in the web application. You’ll need to fill the origin domains for the app with the embedded Metabase, so Azure knows to enable cross requests from those domains.
Azure does not let users create a database upon service creation, that’s the reason why we used postgres as the database to install Metabase. Althought this shouldn’t be a problem, a good practice would be to install the database in a separate database named metabase. If you are not in a hurry to try the product, you should create a database named metabase as soon as you create the database and then use the appropiate connection string when deploying the docker container.
In the example above the connection string would be
postgresql://10.0.2.4:5432/metabase?user=metabase@metabase-app-database&password=Password1!&ssl=true&sslmode=require


